Disability & Ceramics

My life contains hurdles that come along with being disabled/chronically ill, so my ability to throw pottery depends on my energy levels that day, whether or not I have an injury, or if I have a flare up in my disability.
In recent years I have explored the art of accommodation, with a dedicated focus on maneuvering ways of creating in the midst of the disabling seasons of my life. I countlessly must recalibrate expectations for what mediums are accessible to me—what’s possible physically, as well as what actually feels expressive.
From this act of wiggling through this life, I’m constantly challenged to balance what’s possible, and what’s feeding me to create. Through this juggle, I fall in love with different mediums, I discover new mediums, and I am pushed to explore the unfamiliar within ceramics (a medium I’m comfortable enough in to get stagnant in).
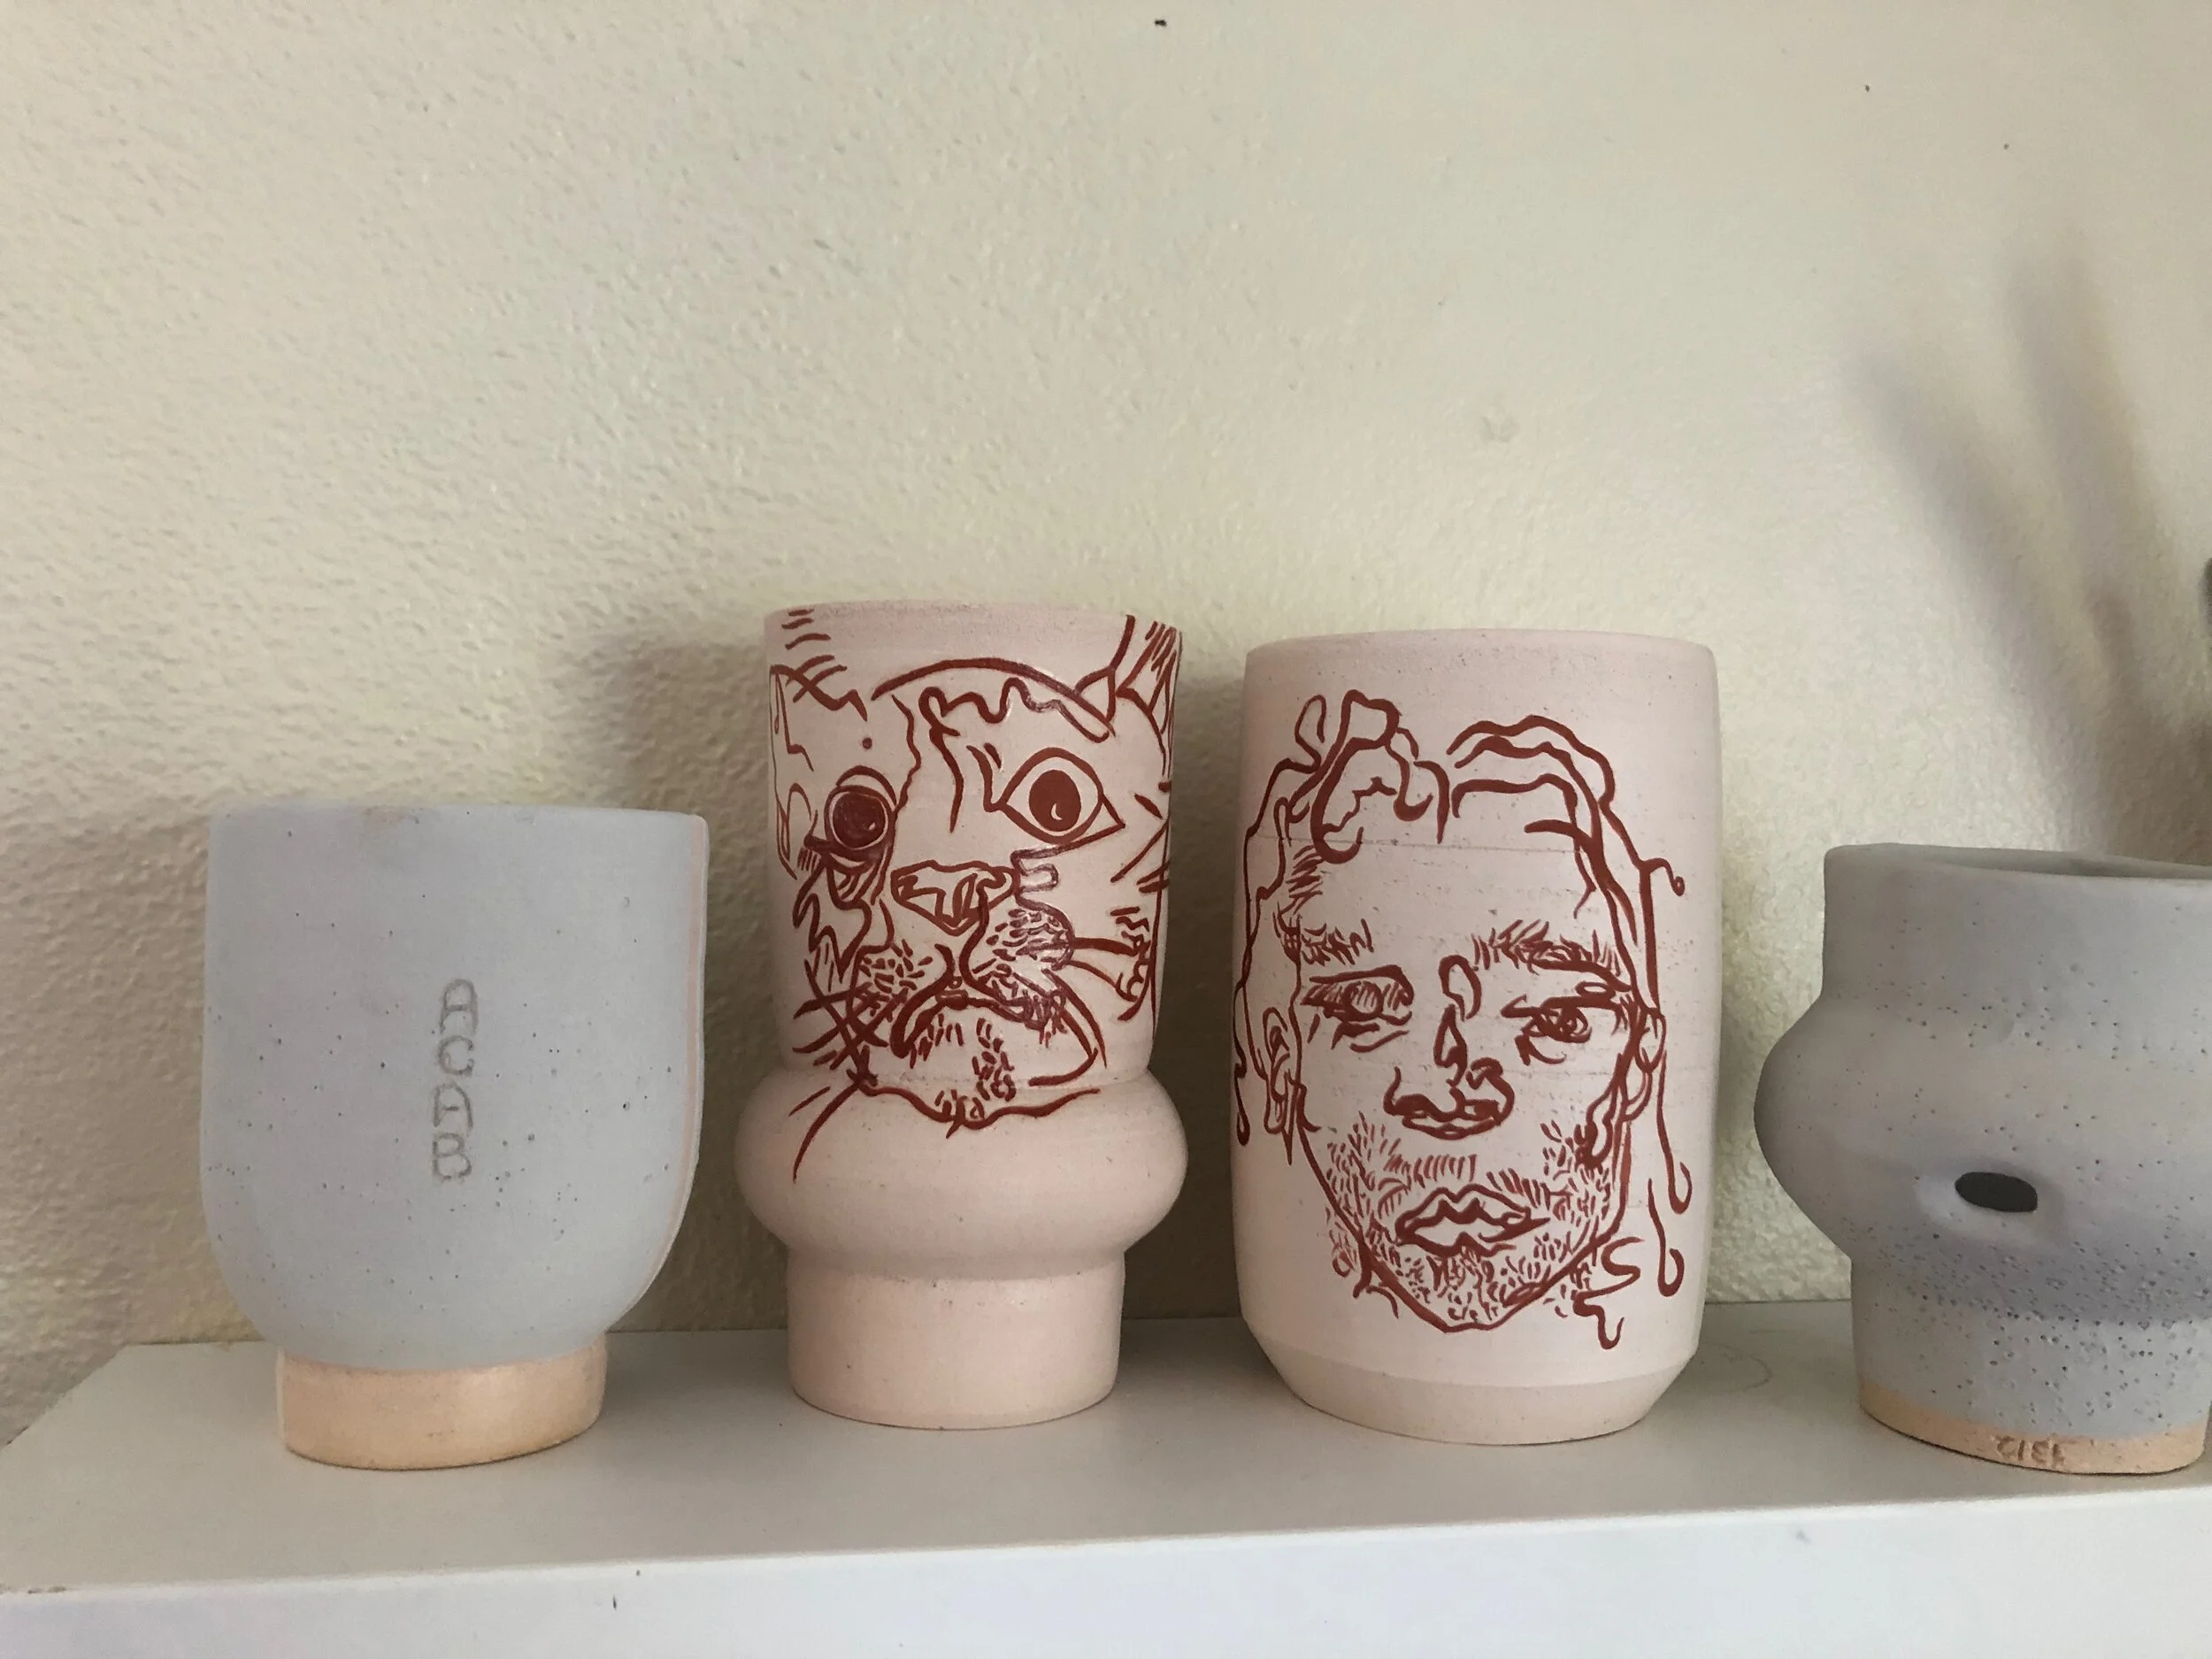
Reimagining Beans the Cat

This is beans and I was asked to make a mug with his face on it :’)

First, I drew my illustration of beans on tracing paper, then cut out a piece of transfer paper and placed the drawing of beans on top, I taped the illustration down on my piece, then traced the lines with a pencil (making sure not to push through the paper, pushing just enough to make a small indent in the clay). After my image has been copied onto my vessel, I can then follow the lines with underglaze and a paintbrush to create the painting you see as the end product.

This is how I track my progress/how many coats of underglaze i’ve painted so far ifIi have to walk away from a project for a bit. It is nearly impossible to tell which has two coats and which has one! This is a helpful tool to make sure the opacity of the lines stay consistent.
Beans mug after its first firing and before being waxed and glazed.

Finished Beans!
My Process

a wiggle mug pre-glazing, waxed and ready to dip!
Making the aj mug

The AJ mug with two coats of underglaze painted on before going in for it’s first firing

complete and ready to be shipped!


The Basics
First I wedge the clay into the balls that will later form into a vessel. The clay travels through the wet stage, then the leather hard stage, bone dry, bisque, then complete.
Once I’ve thrown a pot, I cover my piece/s intermittently throughout the week while they’re drying, to prevent cracking. Once a vessel is of leather-hard consistency (right in the middle of wet and dry), it is ready to trim! I throw it back on the wheel and use my carving tools to uncover the true shape of the form. This is the part where you can put all of your details in and really make your angles sharp, my favorite part :). after I’m satisfied with the shape, I smooth/burnish the clay surface with a stone, pistachio, or my fingernail.
Once it’s trimmed It’s ready for its first firing, once those babies are fired I will then paint wax where I want the raw clay body to be showing. The wax dries and acts as a glaze repellent (a similar chemical reaction to when you mix water and oil), the vessel then takes a dip or two in glaze, then it’s ready for its final firing!

Contour Vessels
paint my pre-determined illustration on with one of the tiniest brushes one can buy! Once I have painted on 2-3 coats of the underglaze, I send it in for it’s first firing.
After it is bisque fired, the vessel becomes bisqueware, ready to wax and glaze. with the same small brush dipped in liquid wax, I trace over the linework I have already painted on. The wax dries and acts as a glaze repellent (a similar chemical reaction to when you mix water and oil), allowing the lines to remain visible after I dip the piece to glaze.
I dip in the glaze, clay baby gets fired in the kiln, and out comes a beautiful ceramic ware with one of my blind contours on it!